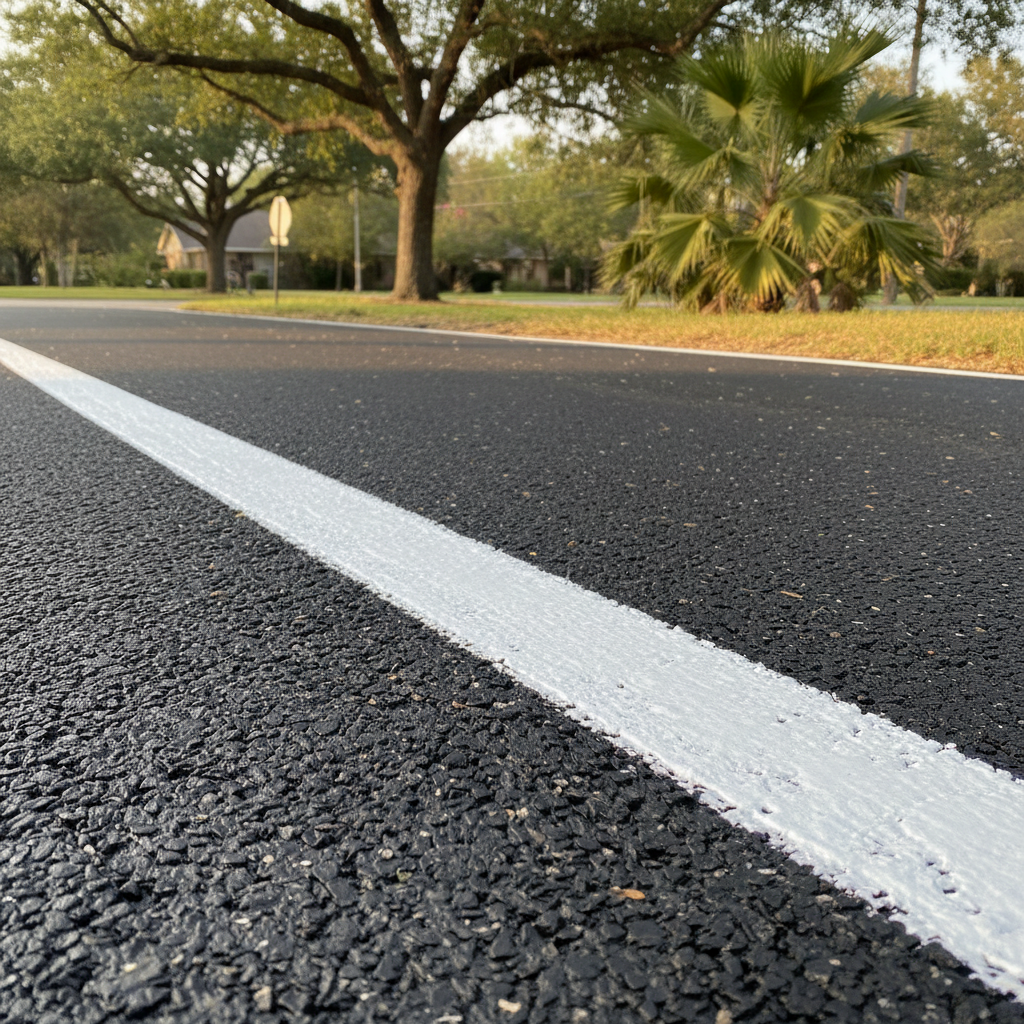
Your asphalt driveway or private parking area might look pretty good, but maybe it feels like something's missing. Or perhaps you've just put in a new car pad and now you need to mark out parking spots – or even a basketball court. Striping seems like a simple enough job, right? Well, it can be, but there’s actually a lot to think about before you just grab a can of paint. As a local Houston contractor, I’ve watched plenty of folks try to tackle this themselves, often with mixed results. So, I want to give you the real scoop.
Before You Start: Planning is Everything
Don't just wing it. Seriously, don't. A little planning really helps make sure your lines are straight, even, and actually useful. Here’s what you ought to consider:
What are you striping, anyway? Are we talking a simple parking spot line, a basketball court, or maybe some directional arrows for a bigger private lot? The more complex the job, the more tools and effort it'll need.
Clean that surface first. You wouldn't paint a dirty wall, would you? Your asphalt needs to be clean and dry. Sweep off all debris, leaves, dirt, and any loose gravel. If there are oil stains, you'll have to clean those really well with a degreaser and then rinse thoroughly. Paint just won't stick to oil.
Weather really matters, especially here in Houston. You obviously can't stripe in the rain, but humidity also affects how paint dries. Try to pick a clear, dry day with temperatures somewhere between 50 and 90 degrees Fahrenheit. Steer clear of the scorching midday sun in July; early morning or late afternoon usually works best.
Measure twice, paint once. This isn't just a saying; it's a hard and fast rule. Use a tape measure and a chalk line to lay out your design. For parking spots, the standard width is typically around 9 feet, and they’re 18-20 feet long. If you're marking a basketball court, make sure you get those official dimensions. Don't eyeball it unless you want crooked lines that will drive you absolutely nuts every time you see them.
DIY vs. Pro: When to Call Pacific Asphalt Inc
This is where things get real. For a small, simple job—say, one or two parking spots on a flat, even driveway—you might be able to do it yourself. You’ll need:
Good quality asphalt striping paint (not just regular house paint, which won't hold up)
A chalk line
Painter's tape (the wide kind)
A roller with a narrow nap, or a brush
Kneepads, because you'll be on the ground, trust me
The process involves laying down your chalk lines, taping off the edges to get crisp lines, and then carefully painting between the tape. It’s tedious work, and it demands patience. If you rush it, you’ll end up with wavy, uneven lines that honestly look worse than having no lines at all.
However, for anything more involved than that, I’m going to tell you straight: call a professional. Here’s why:
Specialized Equipment: We use dedicated striping machines. These aren't just fancy spray cans; they make sure you get consistent line width, even paint application, and perfectly straight lines over long distances. Trying to do that with a roller and tape is a total nightmare.
Paint Quality and Application: We use commercial-grade traffic paint, which is made for durability and visibility. We also know how to put it on correctly so it lasts as long as possible, which is super important with our intense Houston sun and those occasional heavy rains.
Efficiency: What might take you a whole weekend of back-breaking work, we can often finish in just a few hours with a small crew. Time is money, and your back is worth something too!
Complex Layouts: If you're dealing with multiple parking spaces, ADA-compliant markings, fire lanes, or intricate directional arrows, a pro understands the regulations and how to lay it out efficiently and accurately. Getting ADA compliance wrong can lead to fines, so don't mess around with that.
Longevity: Professionally applied stripes last way longer than most DIY jobs. We understand how the paint sticks to the asphalt and how to get the surface ready for the best possible bond.
Think about it this way: you can change your own oil, but you’d probably take your car to a mechanic for a major engine repair. Striping a few lines is like changing your oil; striping a whole lot is more like that engine repair. We’ve got the tools and the know-how, plain and simple.
After the Striping is Done
Whether you DIY'd it or hired Pacific Asphalt Inc, the aftercare is pretty much the same:
Cure Time: Give the paint plenty of time to dry and cure. This isn't just about being dry to the touch; it needs to harden completely. That can take anywhere from 24 to 72 hours, depending on the paint type and Houston's humidity. Keep traffic off the freshly striped areas during this time. Nothing ruins a fresh stripe faster than a tire mark, right?
Regular Cleaning: Keep the area clean. Dirt and debris can wear down the paint over time. A good sweep or power wash (on a low setting, from a distance) every now and then will help keep things visible.
Sealcoating: If you're planning to sealcoat your driveway, do it before striping. Sealcoating over fresh stripes will dull them and make them harder to see. If you've just sealcoated, wait a good 30-90 days for that sealcoat to fully cure before putting down new stripes. This is especially important in areas like The Heights or Montrose where older asphalt might be more porous.
Touch-Ups: Over time, all stripes will fade, especially in high-traffic areas or spots constantly exposed to the sun. Keep an eye on them and plan for touch-ups or re-striping every few years to keep your property looking sharp and working well.
Striping can really make your asphalt look better and work more efficiently. Just make sure you’re going into it with your eyes open, knowing when to roll up your sleeves and when to pick up the phone. If you're in Houston and thinking about a striping project, big or small, don't hesitate to give us a call at Pacific Asphalt Inc. We're always happy to chat about your options.